How to Take Photos of the Northern Lights
- Northern Lights
- 28 Sep 2022
To be able to take pictures of the Northern Lights you need a couple of unique settings. Here is a guide on how to take Northern Lights photos with any device!
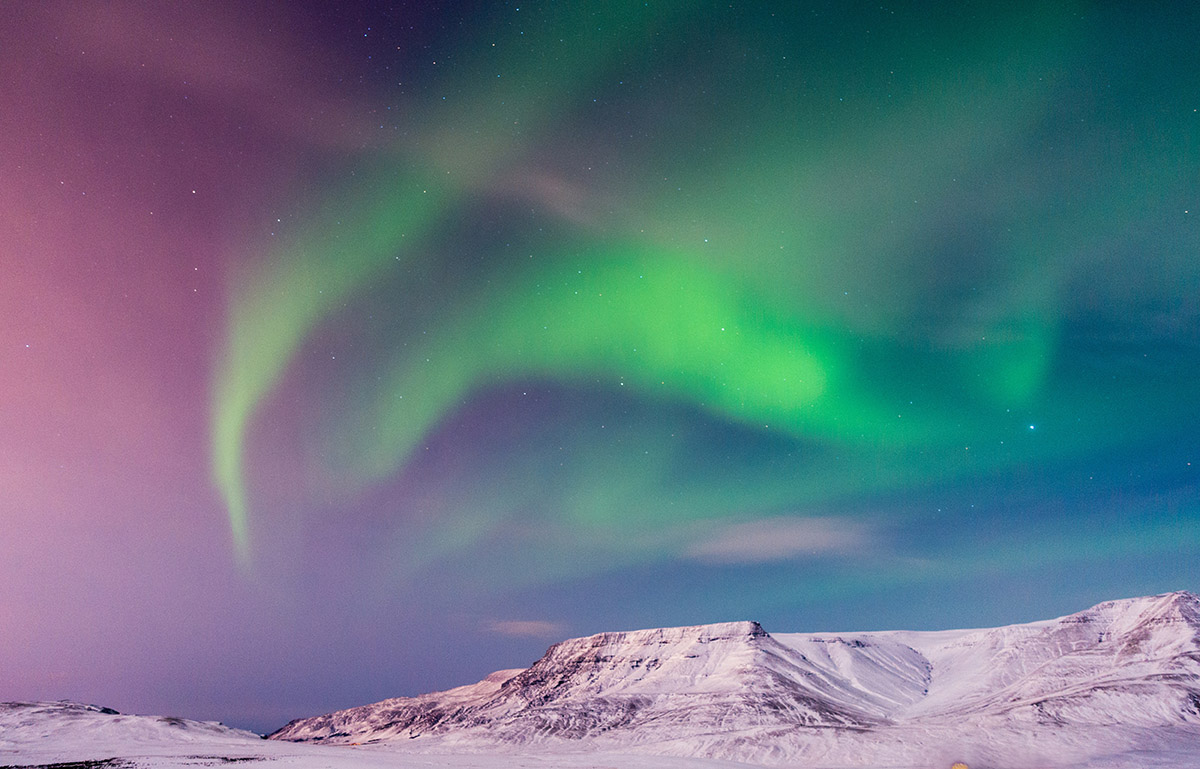
Witnessing the Northern Lights is on the bucket list of many people. Not only experiencing this beautiful phenomenon, but also getting the greatest photos to share with your friends and family! When you decide to join a Northern Lights tour and finally get the chance to see the Northern Lights, it can happen very quickly and unexpectedly.
To avoid spending hours in the cold and dark trying to set up your cameras, and not having time to enjoy the Northern Lights, it’s a great idea to practice at home and have your camera ready before you go on the hunt.
Updated in September, 2025.
Camera and Phone Types
Firstly, what camera and phone types can actually take pictures of the Northern Lights?
For all cameras the rule is, as long as your device has a manual mode which allows you to change at least the exposure time (minimum 10 seconds), you are good! You can also take better photos if you have a wide lense. The ideal lens range for capturing the Northern Lights is 14mm to 24mm — the wider, the better — as the most captivating images often frame the lights alongside a landmark or striking landscape.
Almost all newer phone models can take pictures of the Northern Lights although for all Apple devices, aside from the iPhone 11, we recommend using an app.
Newer GoPro models also allow you to take pictures of the Northern Lights with the night mode working best.
For all devices a tripod is always very helpful as you will have to hold your device very stable for an extremely long time.
Here are a couple of tips that can help you set up your cameras and phones!

DSLR Cameras
Set your camera on Manual Mode. You will find that it is most likely on the top of your camera on a little wheel where the Manual Mode is marked with a capital M.

Now you can set the rest of the camera settings! You want to aim for a very long exposure time. Set your shutter speed to anything between 10 and 20 seconds. But note, if the screen shows you 15 this means 1/15 of a second and not 15 seconds! 15 seconds instead is marked as 15”. To correct this you will normally need to turn a wheel, although different devices have it located differently.
It’s important to stay flexible with exposure time. When the Northern Lights are highly active—or if you want to capture their sharp, dancing movement rather than a smooth green band—long exposures aren’t ideal. Instead, opt for a higher ISO with a faster shutter speed; in many cases, even 2 to 3 seconds can produce stunning results.

Your aperture should be set to the lowest number that is possible on your lense. Normally this is going to be somewhere between a f/1.4 and f/5.6, but choose the lowest option. The aperture can be found on a second wheel or with pressing a little button plus turning the first wheel.

Your ISO should be quite high, something between 1600 and 3200 is a good option. If you go too high you risk getting a grainy picture. This setting can be found either in the menu or on a special button.

Last but not least, you need to switch your auto focus to manual focus. This can be found normally on the side of your lense. It is a little switch button and manual focus is marked with M.
Once you switch to manual focus, turn the focus ring to the infinity mark. If you’re unsure whether this produces a sharp image, it’s always best to test your lens during the day. This way, you’ll know exactly how your lens behaves and can be confident in your results at night.

Summary: All the numbers depend on your camera, your lense, how bright the moon is and how bright the Northern Lights are. So all the numbers are to be understood as a guideline. Feel free to experiment with them!
As a general rule remember this:
- The higher the number in the exposure settings – the brighter your picture
- The lower the number in the aperture settings – the brighter your picture
- The higher the number in the ISO settings – the brighter your picture
The ISO is the only thing that negatively affects the quality of your picture (though the greater the quality of your camera, the less you will see this effect). Otherwise your picture can become very grainy and develop colour spots in it, so be careful. If your picture is too dark it’s always better to set the exposure time longer instead of setting the ISO higher.
If conditions allow, bring a remote shutter release to keep your images sharp. Chasing the Northern Lights in Iceland is a lot of fun, but be sure to dress warmly and in layers.
iPhones
Unless you have the iPhone 11 your phone camera app will not allow you to take good photos of the Northern Lights. In exceptional cases you may be able to use the camera, but it depends on light pollution and strength of the Northern Lights.
We strongly advise iPhone users to download an app. One we can highly recommend is called Northern Lights Photo Taker, the app costs you about $1.50 and works as follows:

You have the options between Weak, Moderate, Strong and Custom. The easiest way to get a good picture is to just click on Weak. This stands basically for weak Northern Lights which will make your picture the brightest. Under Custom you can do the settings the same way as you would on the DSLR cameras.
Make sure your Long Exposure Mode is enabled by clicking on the yellow aperture button down left.
The pictures will be saved in your gallery.
The iPhone 11 actually allows you to take good pictures of the Northern Lights with just the standard camera. It even automatically adjusts the settings so you don’t need to do any work!
If you’re using the original iPhone camera app, make sure the flash is turned off, and lower your screen brightness so you can see the dark sky better. Turn on Night Mode (it usually shows up automatically in low light), then slide the exposure time up. To avoid washed-out skies, adjust the exposure a bit lower—around -0.7 works well. Hold your phone horizontally for a wider shot, and keep it steady with a tripod or by resting it on something solid.
iPhones can capture great Northern Lights timelapses. Just keep your phone steady—tripod if possible, or a solid surface. Lower your screen brightness, switch to Timelapse mode, then tap the arrow on top to raise the exposure until the lights show clearly. Hit record and let the sky do the rest.
Andriod phones
Finally, let’s talk about Androids (such as Samsung, Huawei, Xiaomi, LG, etc.):

All newer phone models will allow you to take pictures of the Northern Lights just with the normal camera. For example, Samsung started allowing you to do this with the S7.
They all work fairly the same, you click on your camera app, swipe to either the left or right and you will find something called PRO settings.
Here you can choose the same settings as on the DSLR cameras. Some phones allow you to do more than others but it will look something like this.
You normally don’t have to worry about the white balance (marked with WB), this is normally just fine on the auto settings. If your picture should get weirdly red or any other color then you can play around with this setting.
You can test all this at home in a dark room. If your room is visible in your photo then your settings are good.
A great Northern Lights photo depends on several factors, such as KP-index, clear skies, low light pollution, and, of course, a bit of luck.
Have fun!